


I Spent Almost $80 on AI Headshots So You Don’t Have To
The good, the bad, and the uncanny valley — plus how I finally got one I liked.

TL;DR: I spent almost $80 testing AI headshots, and the results aren’t bad — if you squint or don’t know what I look like. If you're on a deadline and okay with a photo that looks like your slightly better-looking sibling, try AI Headshot Generator for professional vibes or Facetune AI for more business-casual/creative. If you want a headshot that actually looks like you, skip to the end for the method that worked for me.
For most of my adult life, the word headshot filled me with a kind of avoidant dread. As soon as it came up, I’d suddenly remember something very important I needed to do instead. The result? I haven’t updated my LinkedIn photo in maybe 10 years.
I found a photo I liked back then, and I stuck with it. Here’s the thing though: I look... different now. Since that photo, I’ve gotten married, had kids, and lost the vast majority of my hair. For a while, that old image was still my Gmail icon — which meant every time I turned my camera off during a meeting, up popped 2014 me. Cue 10 minutes of awkward small talk about how “yes, that was me, and yes, I look different now.”
Now that I’m job hunting, I’ve had to face the music: it’s time for a headshot that actually looks like present-day me. Enter AI — and the dream that it might magically generate a perfectly retouched photo where I look experienced, dignified... but also somehow younger.
The apps always showcase such promising examples. Just upload some chaotic, unprofessional selfies, and voilà — you, but in professional attire, with great lighting and poreless skin.
So I gave it a shot. I spent nearly $80 trying to find an AI headshot I could actually use. Below, I break down the apps I tried, what worked (barely), what definitely didn’t, and what I ended up doing instead.
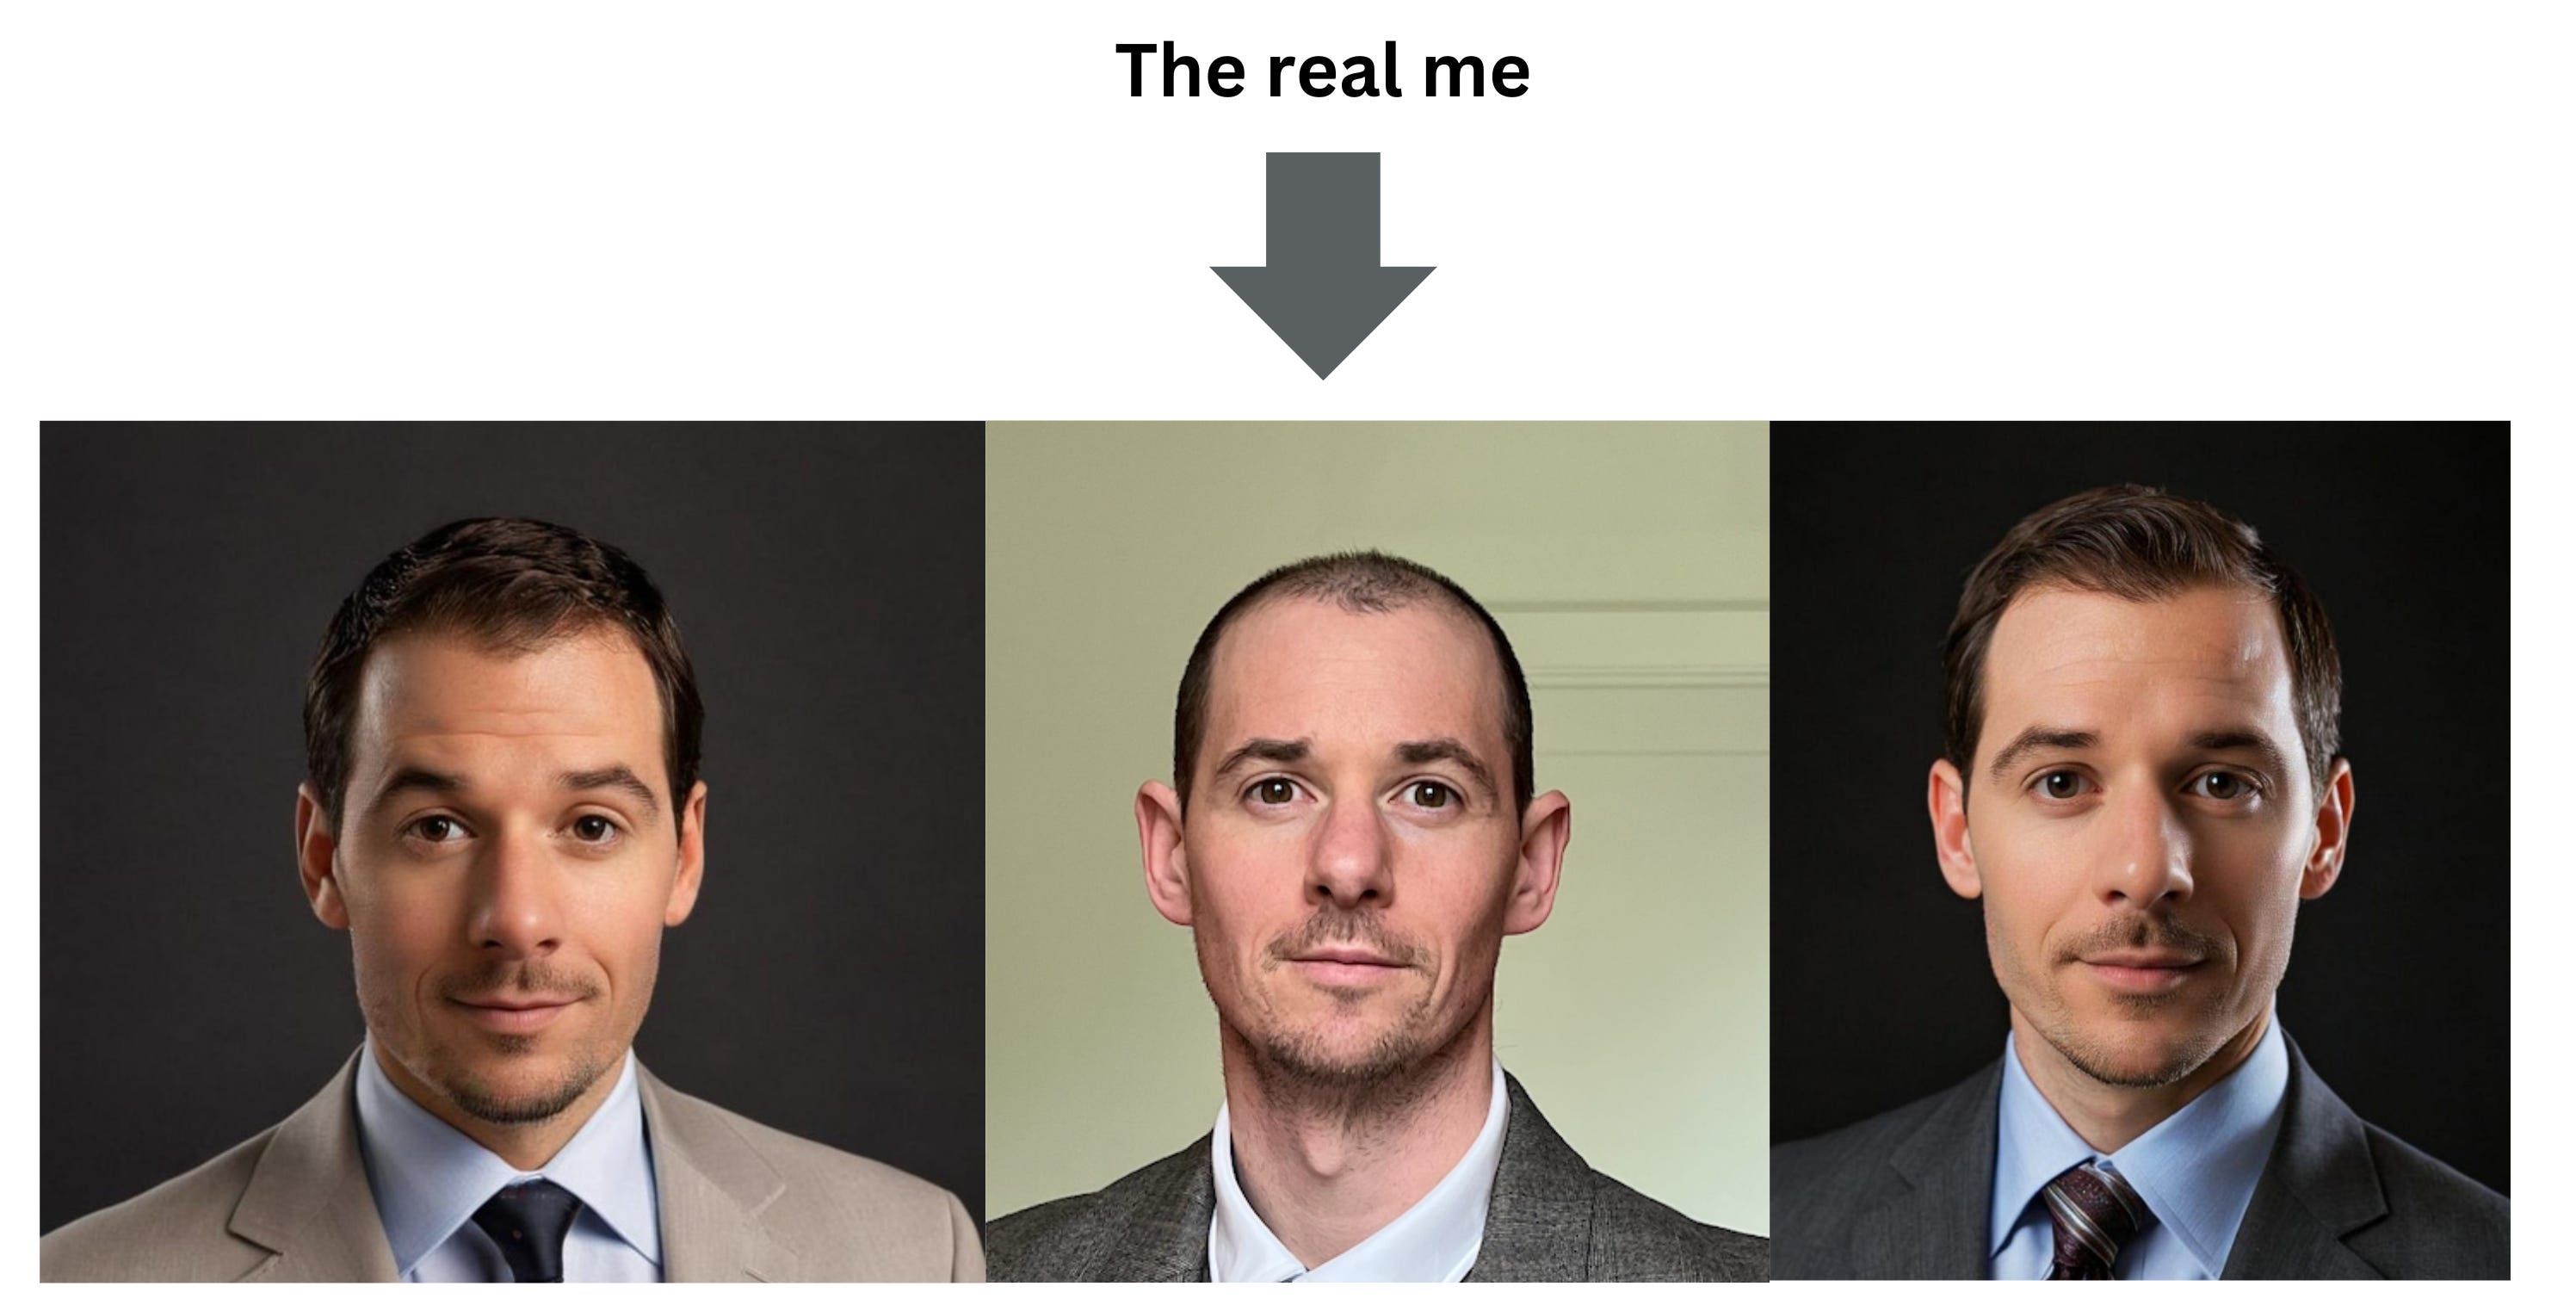
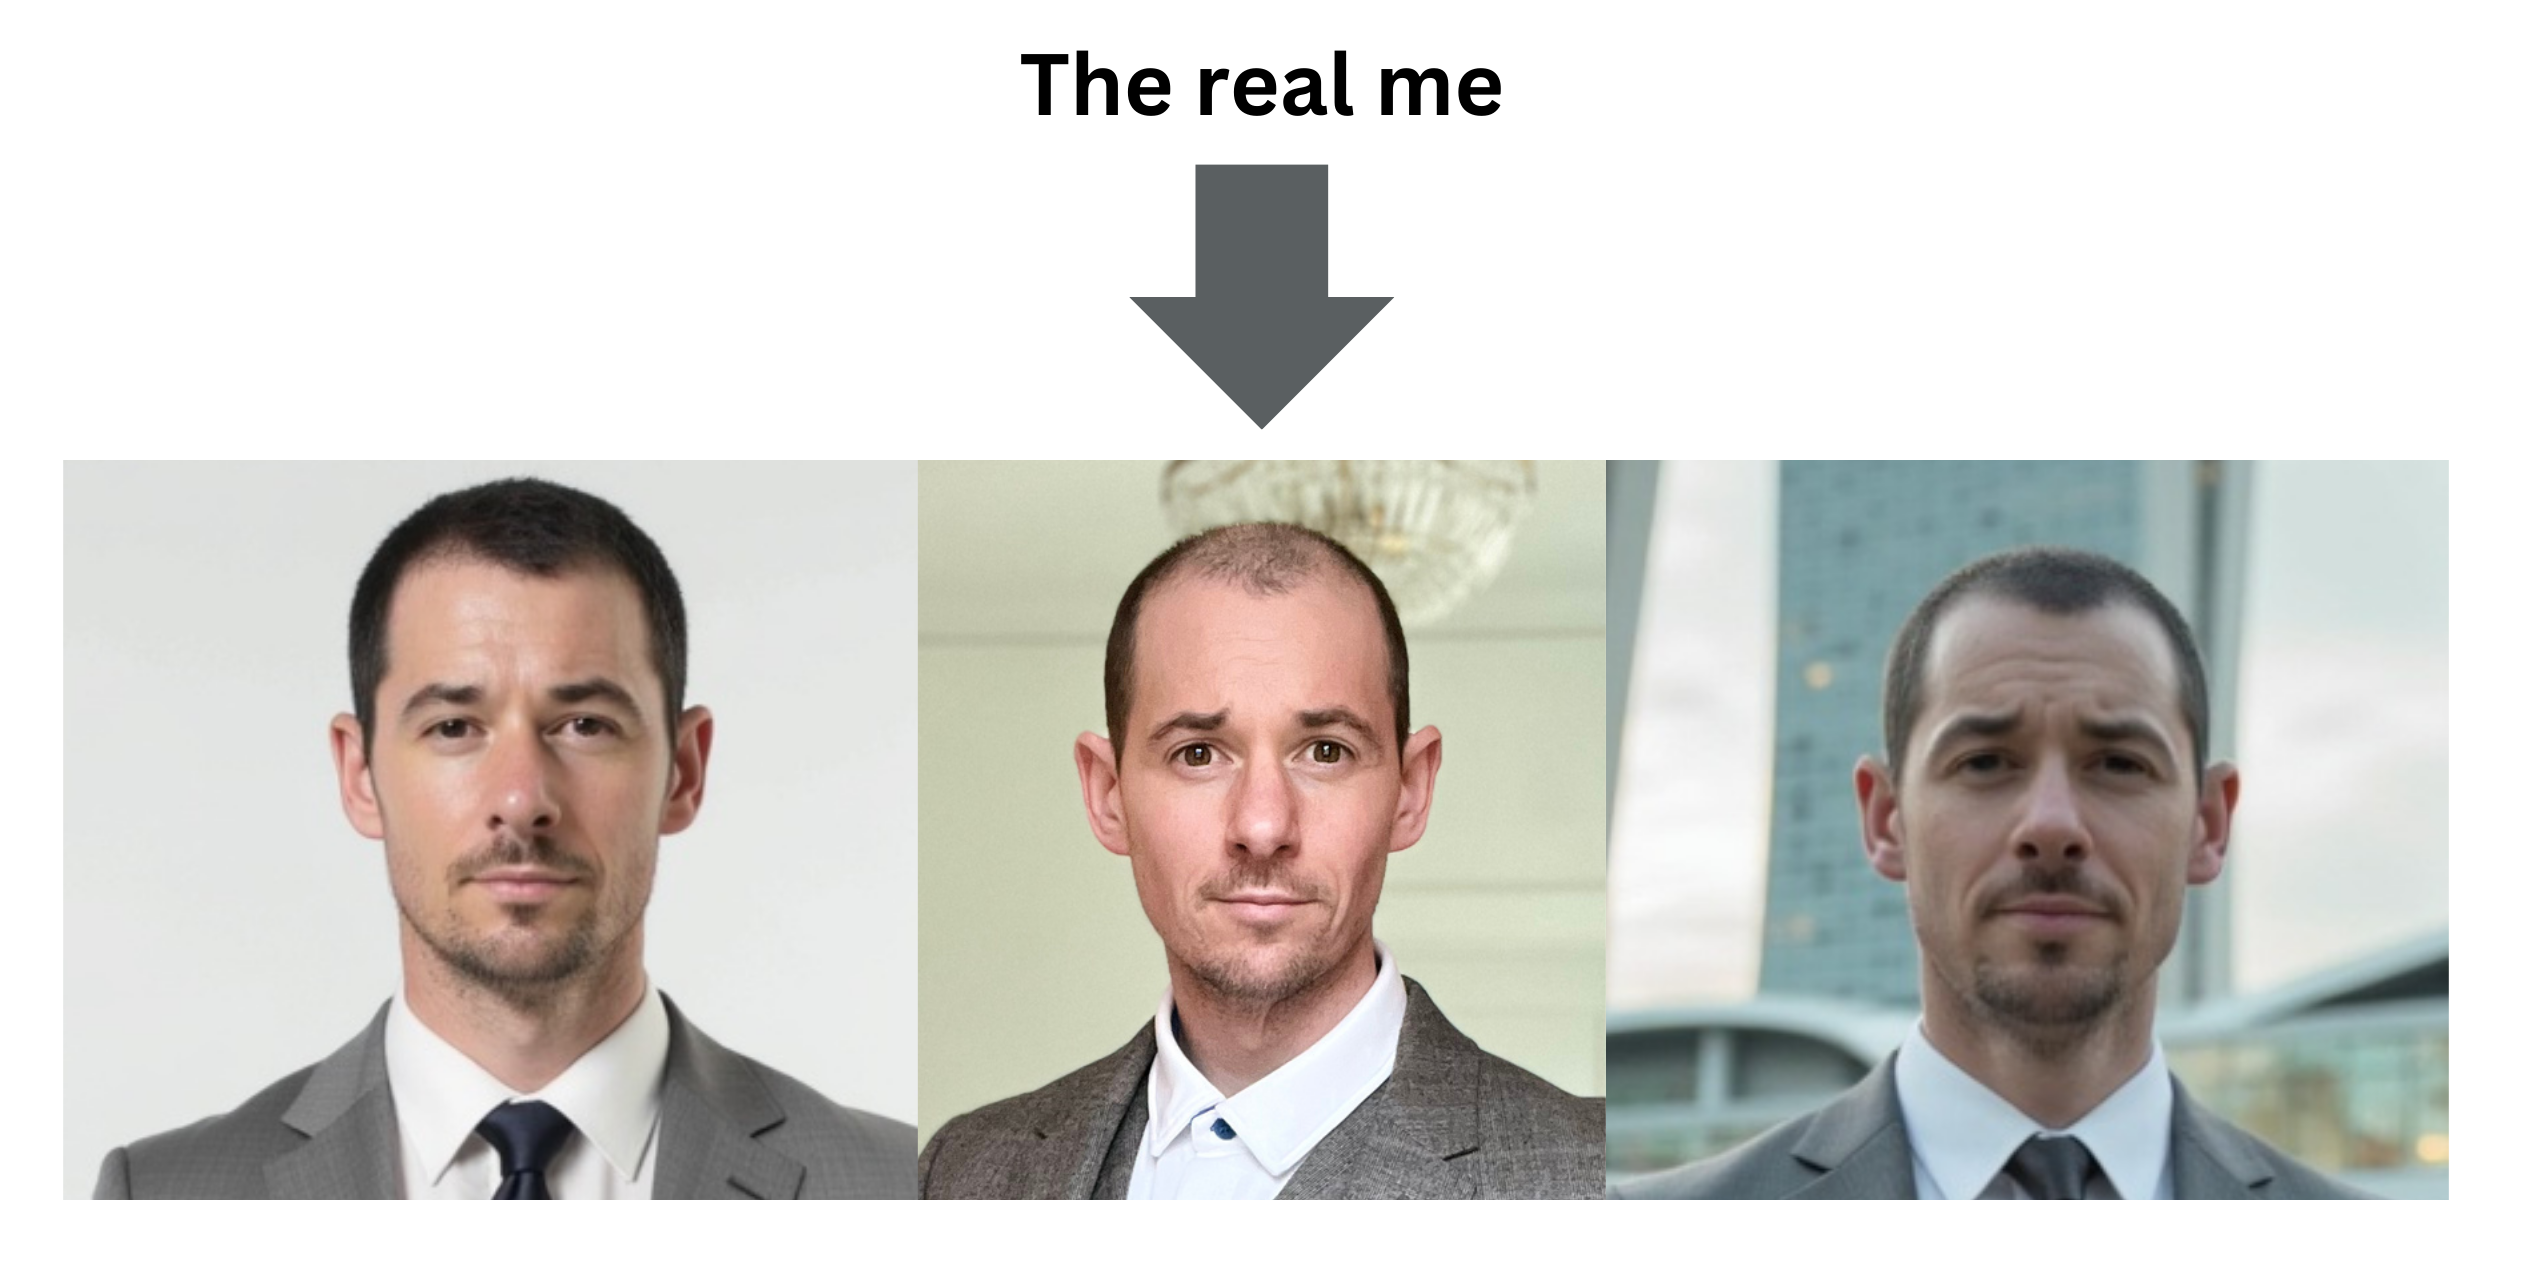
First off this is what I actually look like:


(I used these photos and similar as the reference images)
The first one I tried was Fotor.
Fotor:
Cost: $8.99
Wait: 5 minutes
This was the first app I tried. It promised a beautiful headshot in minutes — but what I got looked more like a poor man’s Jimmy Fallon. I received 23 images, and the ones below were the closest to usable.
We’re not off to a strong start. Impressive tech, but not something I’d actually upload to LinkedIn without a disclaimer.
Facetune AI
Cost: $29.99 - but you can get a free trial for 7 days
Wait time: it said 30 minutes, but it was around 10 minutes in total.
This one was hands-down the most fun to use and had the best likeness overall. The one on the right is actually close enough that I would feel comfortable with it representing me. But there was a catch: no proper “professional” options. Lots of business casual, creative backgrounds, and even one with a hat (my personal fav).
If I were pivoting to a creative field or launching a podcast about mental models, I might’ve used one. This was impressive, but still a “no.”

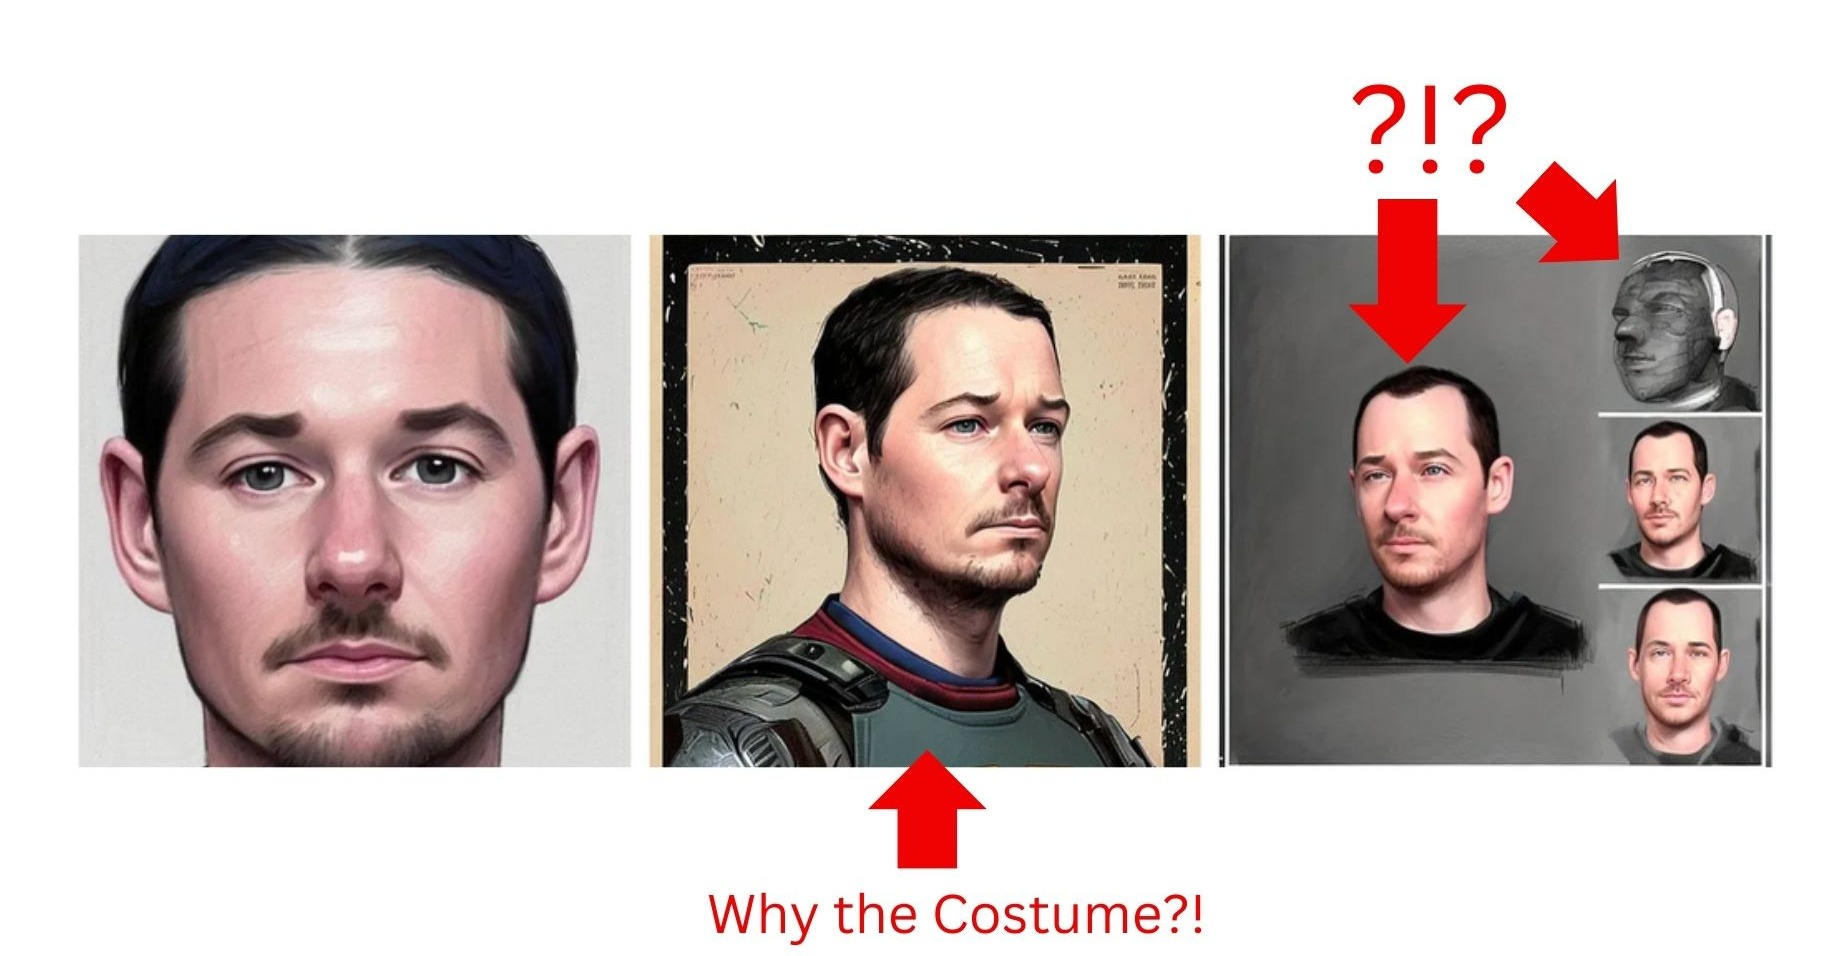
AI Headshot Generator
(accessed via the Iphone app store) Apple link
Cost: ($9.99).
Wait time - 2 minutes.


These were the best professional-style shots of the bunch. Crisp lighting, neutral backgrounds, believable outfits.
The only problem? Up close, they looked like they could be my brothers — brothers who get a full eight hours of sleep and still have their hair.
Out of 15 images, there was only one I’d actually consider using for Linkedin or on my CV/ Bio.
Canva AI Headshot generator:
Cost: $15 for Canva - but I already have a subscription.
Wait time: - 1 minute
I’ll let the results speak for themselves...

I literally recoiled. Where did my upper lip go? Why is my left earlobe massive? Wow. Canva is great at a lot of things, but this isn’t one of them.
Overall
For the time and effort involved, the results were… surprisingly decent. Out of 50+ AI-generated images, there were two I’d actually consider using.
That said, most of them weren’t quite right. Not terrible — just a little off. Like looking at a wax figure of yourself that’s 95% accurate but somehow makes you question your own face. Maybe most people wouldn’t notice, but I did. And if you’re putting this photo on your resume, bio or LinkedIn, that uncanny feeling matters. ~5% were pretty good though, and in a pinch, I’d feel like I wasn’t lying if I put them up somewhere.
Key: AI Headshots might be good enough for what you need right now. Especially if you need one in 10 minutes.
Here’s why they mostly miss the mark: all of these apps run on the same underlying AI models — typically DALL·E or Stable Diffusion. The differences come from how each app prompts and tweaks the model (if they even bother to fine-tune).
(- Fine-tuning is essentially providing lots of specific examples of what they want the model to know -)
But none of them, at least for now, can consistently capture a true one-to-one likeness.
They’re getting closer — and fast. Honestly, the difference between the headshots I tried in 2022 and now is night and day.
It’s only a matter of time before AI-generated headshots become the cheapest, fastest, and best option.
But we’re not quite there yet.
After hours of testing and tweaking, I decided I wanted something that actually looked like me. The good news? It took around 20 minutes, and I didn’t need a fancy camera or a pro photographer.
Here’s exactly how I did it.
How I Created a Professional-Looking Headshot From Home.
*Click the links for video tutorials.
Step 1: Dress the part
Changed into work clothes and aimed for a "professional look." Haven’t done that in a minute.
Step 2: Find good lighting
I used soft, natural light and avoided harsh shadows — in my case, facing a window with direct light.
Step 3: Switch to portrait mode
I put my iPhone in portrait mode and focused it on my face.
Step 4: Set the timer
I propped my phone up on a windowsill and used the timer on..
Step 5: Take lots of photos
I took about 20 shots to get a few I liked.
Step 6: Upload to Canva
I chose the winners and uploaded them to Canva.
Step 7: Remove Background: Use the background remover tool.
Step 8: Retouch gently
I used the face retouch tool and settled on 30% — enough to look refreshed but still like me.
Step 9: Add a background
Search Canva for "office background," "park background," or whatever fits your vibe. Drop it in and right-click to "Send to back."

Crop as needed… and that’s it.
This was the result:

It'll do. I’ve definitely seen worse.
Thanks for reading! If you're experimenting with AI tools, job hunting, or just trying to avoid taking new photos of yourself — you're not alone.
Got a headshot tip or app I missed? Drop it in the comments or shoot me a message. I’d love to hear what’s worked for you.
And if this helped you even a little, consider subscribing or sharing — I write about navigating modern work, tech tools, and trying to stay human in the middle of it all.